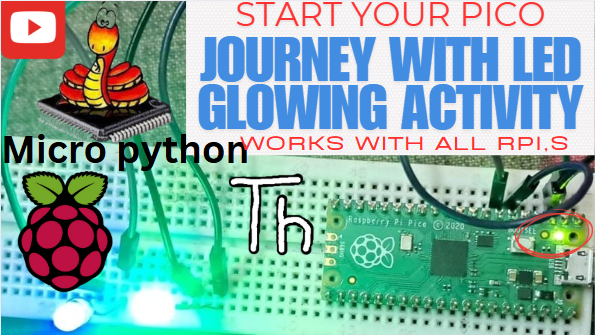
Start Your Raspberry Pi Pico Journey with LED Glowing Activity
Season 1, Episode 1 of Robotics by Arnav
Welcome to your first Raspberry Pi Pico project! This activity introduces the basics of Raspberry Pi Pico, MicroPython, and the Thonny IDE. You'll light up an LED and learn how to control it programmatically.
What You'll Need:
- Raspberry Pi Pico
- LED
- Resistor (330 ohms)
- Breadboard
- Jumper wires
- USB cable (to connect Pico to your computer)
- Thonny IDE installed on your computer
Steps:
- Connect the LED to the Raspberry Pi Pico using a breadboard and jumper wires.
- Open Thonny IDE on your computer and select the Raspberry Pi Pico interpreter.
- Write a MicroPython script to blink the LED:
Save the script to your Raspberry Pi Pico as "main.py" and run it. The onboard LED should blink, indicating that your script is working correctly.
Learning Objectives:
- Understand how to set up the Raspberry Pi Pico for programming.
- Learn the basics of MicroPython.
- Control GPIO pins on the Pico.
- Use an external LED with resistors and jumper wires.